
I love recycled crafts especially those that cover multiple
areas of study. These recycled wind organs cover music, art, and science. It
took us a while to collect up enough plastic bottles because we are not big
plastic users, but we finally gathered enough plastic to make this cool wind
organ.
A wind organ will make music when the wind blows. Our wind
organ did not make a loud sound, but you could hear it if you were standing
about 1-2 feet away from the organ which was a nice treat when we were working
in the garden.
We used alcohol based markers (Sharpie®)
to decorate the bottles. The marker seems to be holding up well even after
getting wet.
You can use these wind organs for some science exploration
for your children. Some questions to ask them as they blow into individual
bottles:
1.
Which bottles make a high pitch sound?
2.
Which bottles make a low pitch sound?
3.
What do you notice about the holes of the
bottles with a low pitch sound?
4.
What do you notice about the holes of the
bottles with a high pitch sound?
We ended up with a nice discussion on how our simple wind
organ works vs a pipe organ.
For more information on a how a pipe organ works, please
visit Pipedreams® website.
For more information on wind organs including sound files
from different wind organs please visit Pastorgan.
Materials inspired by Plastorgan
Assorted plastic bottles
Knife
Scissors
Sharpie® markers
Twine or string
Directions
1.
Have an adult cut a skinny rectangle up the side
of a bottle. I did this by inserting the knife in the bottle, then using
scissors to cut the rest of the rectangle. You can cut different sized
rectangles with varying heights but keep the width at the top and bottom the
same to make the science questions are easier to understand for little children.

2.
Color designs on the bottles with the markers.
3.
Tie the bottles to a pole using twine. I found the
easiest way to tie the bottles is to tie a loop around the neck of the bottle
then tie another loop around the pole that you are attaching the wind organ to.
Posted on Simple Lives Thursday
Posted on Simple Lives Thursday


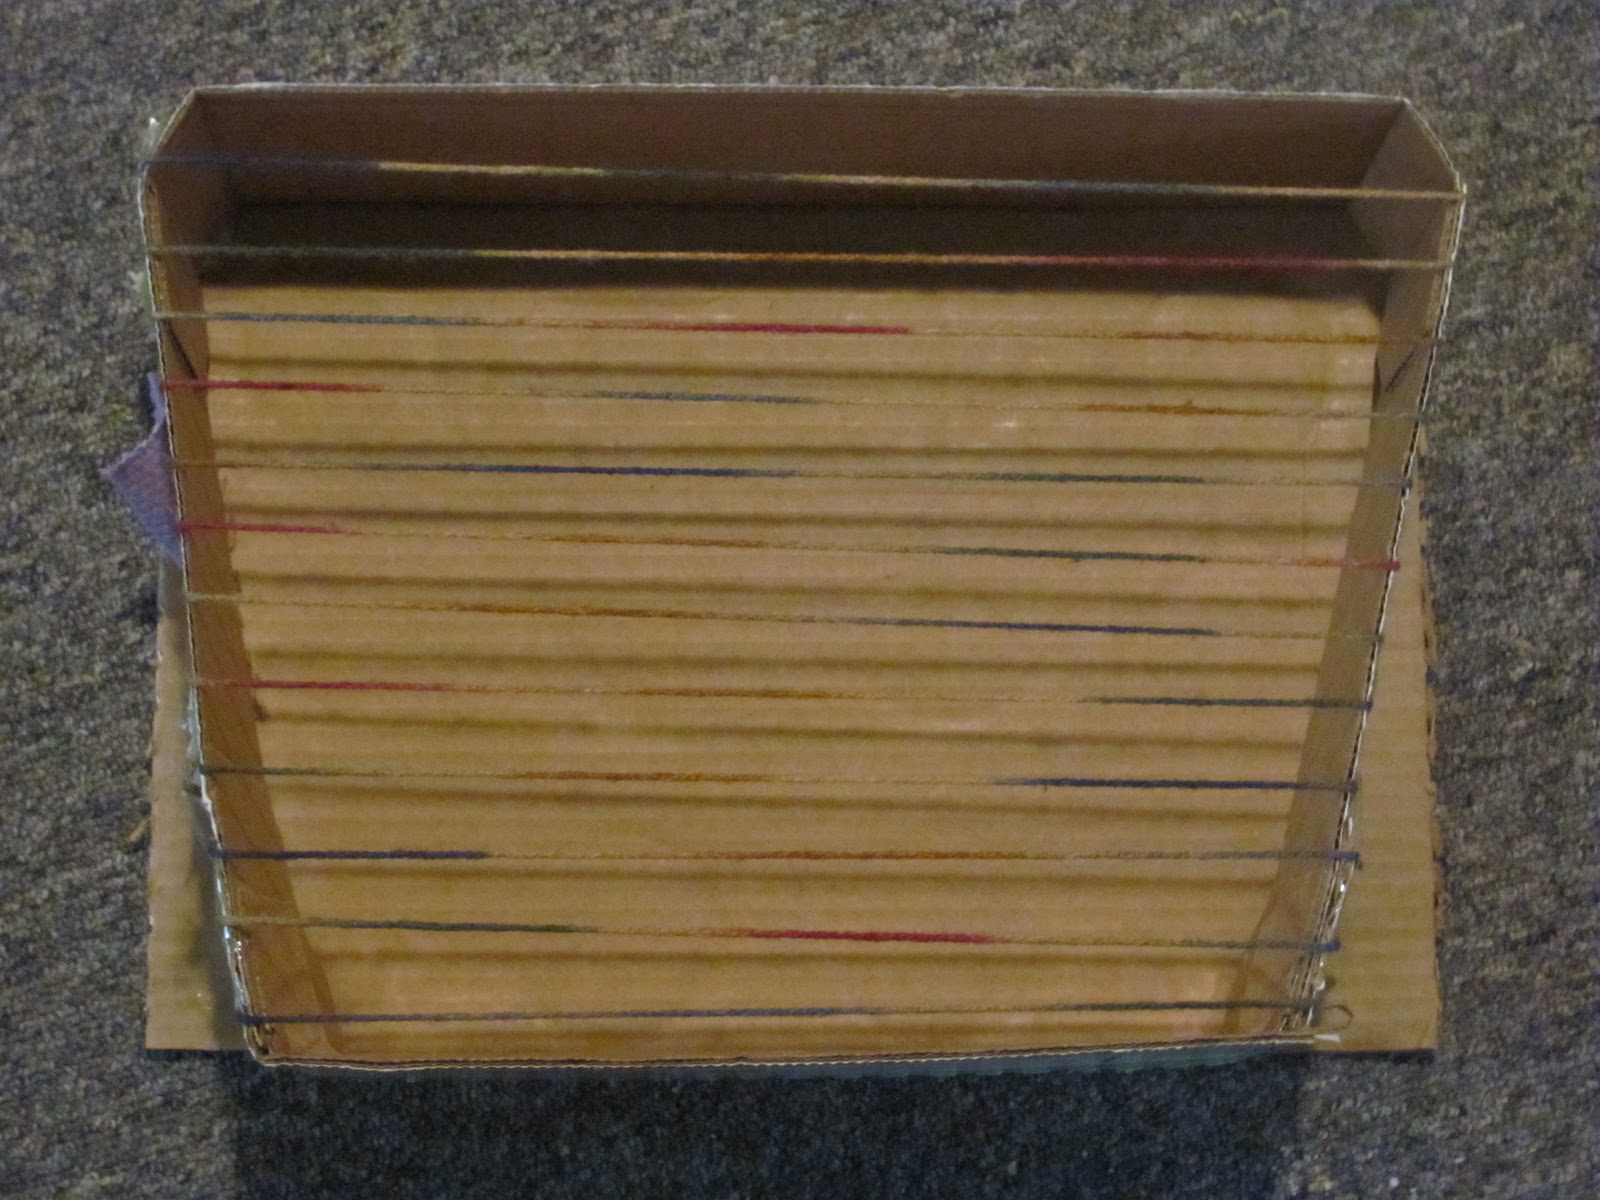
 which is an amazing nonfiction book of the history of the orchestra. We read the page on early musical instruments and came across a zither. I was unfamiliar with a zither, so we went on you tube and found some videos of people playing zithers. We really enjoyed the relaxing music that large zithers produce (found in the korean video). It is a bit rustic sounding but still really pretty. It reminds me a bit of a harp.


