Friday, August 26, 2011

Crystal structures and catching CO2 with Sponge Candy

I really love science, and I love cooking, so it seems natural that I keep teaching Little BBQ lots of science in the kitchen. This time I took my Daring Bakers challenge which was candy this month and turned it into a science experiment for Little BBQ. Sponge candy is a very simple candy to make with lots of interesting science.
Basically sugar is heated to a high temperature where it turns into the “soft ball stage” then baking soda (Sodium bicarbonate [NaHCO3]) is quickly added to the hot sugar. The heat from the hot sugar causes the baking soda to release carbon dioxide bubbles. Then, the candy is quickly cooled and the carbon dioxide bubbles get trapped in the candy and the sugar does not have time to line up into ordered crystal structures. Another trick to sponge candy is that you add an interfering agent that contains high levels of fructose like corn syrup or honey. The interfering agent helps to prevent the sugar from lining up and making hard crystal structures that gives some candy a grainy texture.  Instead the sugar will look glassy and disorganized under a microscope.
For our little experiment we took microscope pictures of sugar as our control. Then, we made the sponge candy. We made sure that we had holes in our candy. Then, we placed the sponge candy back under the microscope to see if the sugar had enough time to make organized structures. It appears that we made our sponge candy properly because we found air pockets from the CO2 and glossy, disorganized sugar structures.
Little BBQ got so into this experiment and the science behind it that he wanted to know more, so I drew a picture of sugar at the molecular level. I let him color all the carbon, oxygen, and hydrogen atoms different colors, and we counted how many bonds each atom has connected to it to make general rules about hydrogen bonds, carbon bonds, and oxygen bonds. I am very proud of Little BBQ on this experiment. For the sponge candy recipe, please see my cooking blog post on sponge candy.

More microscope images of sponge candy:

Thursday, August 25, 2011

Eric Carle Style Art


This week when I exploring some new art options for Little BBQ I came across Eric Carle's web-site where he has short videos on how to make the caterpillar found in the Very Hungry Caterpillar
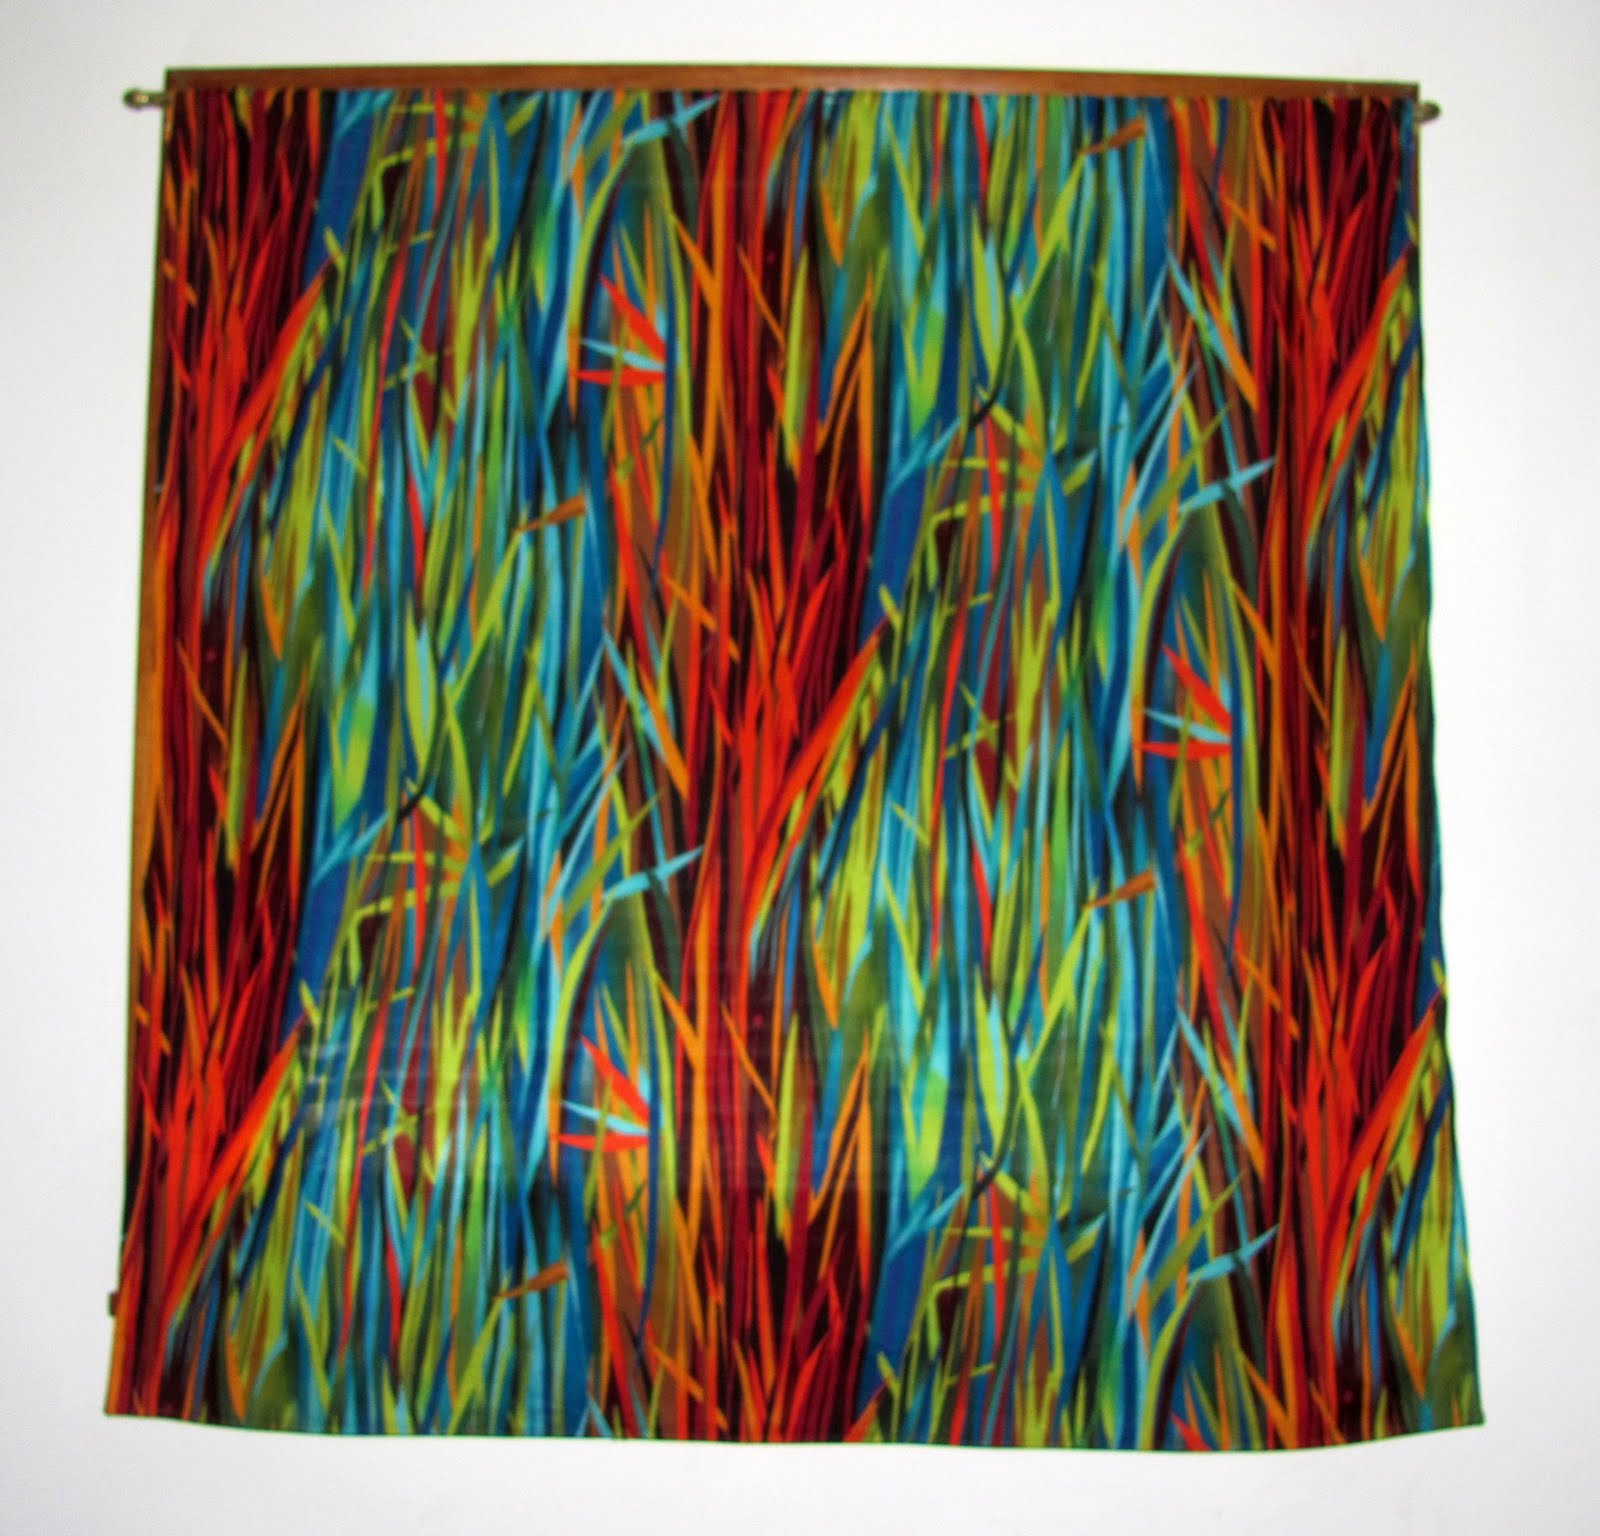
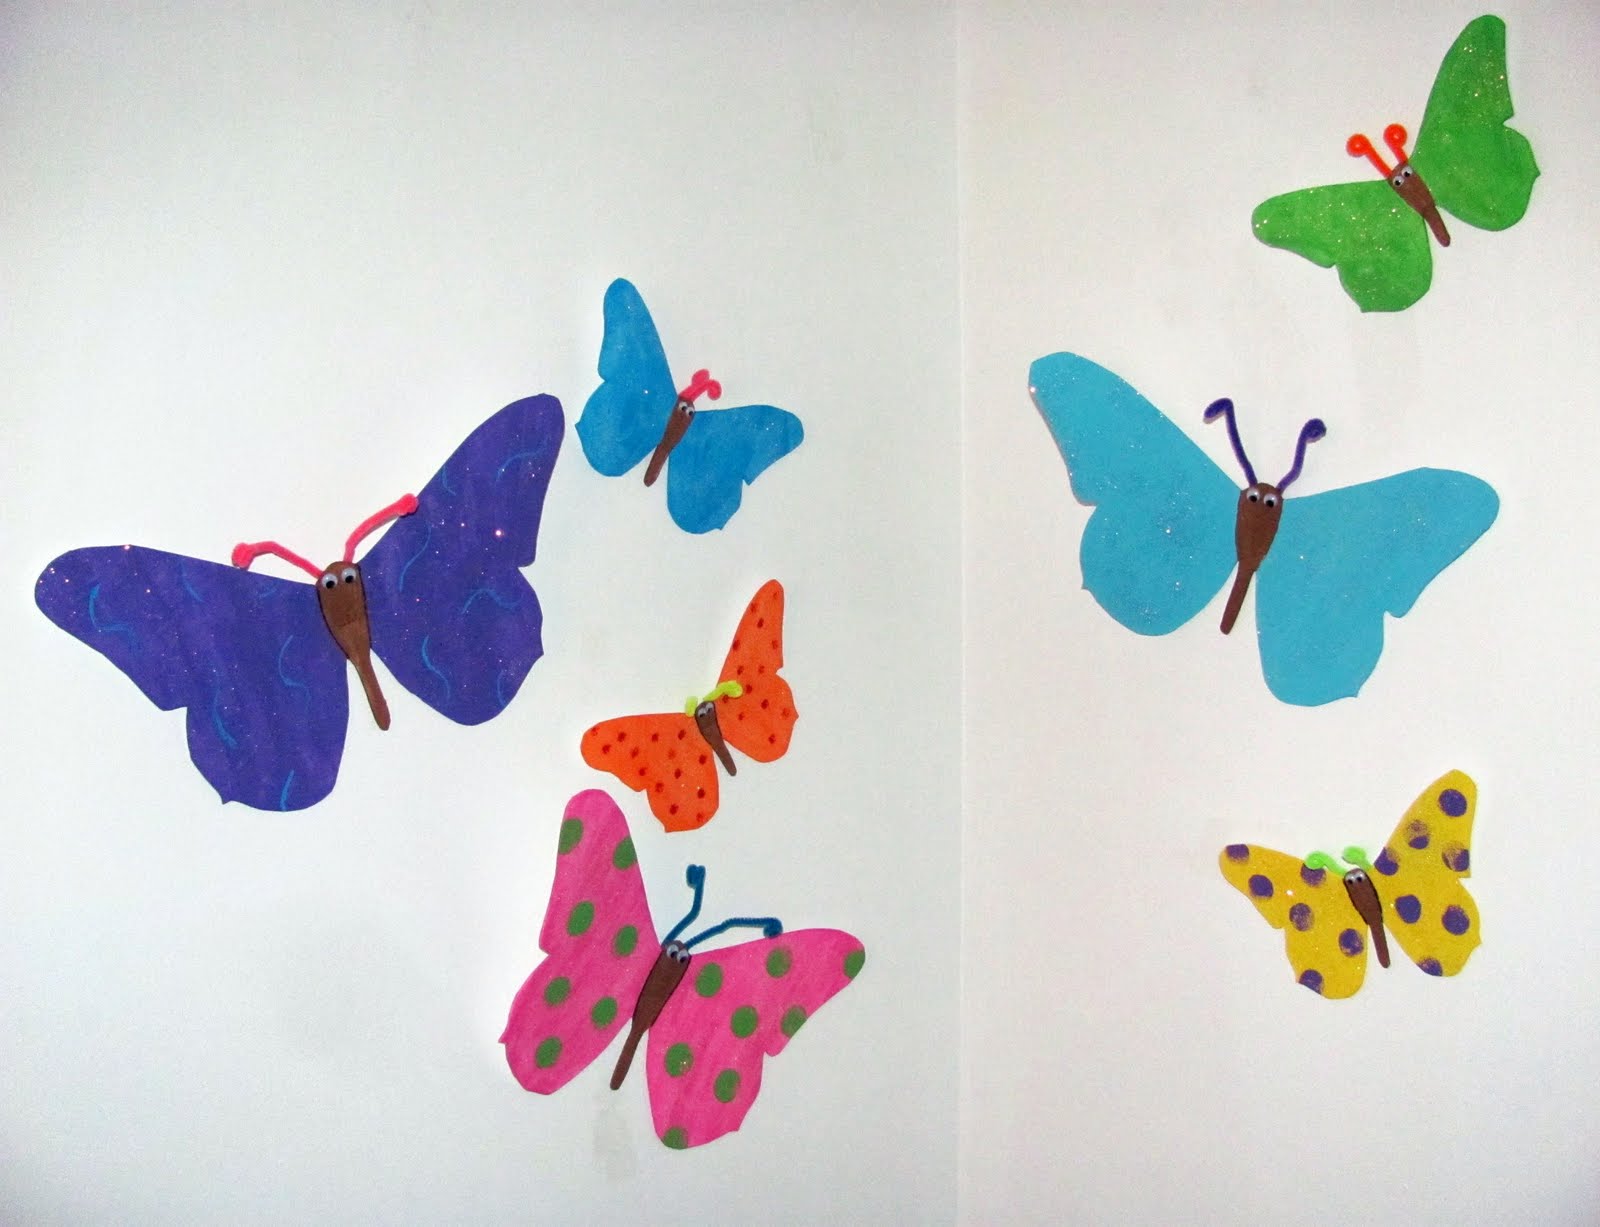
. How cool is that? I thought that the technique was a little too difficult for Little BBQ and a few too many steps at this age, so I modified the technique to have few steps for him. The modified technique did not have the rich textures that Eric Carle's caterpillar had, but it was still a lot of fun and came out nice.

For the modified Eric Carle caterpillar technique we used colored tissue paper instead of white. This saved us from taking a white sheet of tissue paper and having to paint it a solid color. I also pre cut the shapes for Little BBQ since I did not think that he had the patience to cut delicate tissue paper without tearing it, so this saved us another step. We taped out caterpillar onto a piece of string to hang on the wall because the caterpillar was too large to fit on a piece of paper, but you can easily glue a smaller caterpillar on a piece of paper.

For reading about caterpillars we read Waiting for Wings by Louis Elhart along with the Very hungry Caterpillar because Waiting for Wings went into more detail about butterfly anatomy and was a little more detailed on the life cycle of butterfly than the Very Hungry Caterpillar. I also like that the book was simple enough for Little BBQ to read out loud to me. The sentences are short and each page contains a single sentence making the reading bite size.

Materials

Colored tissue paper
Scissors
Paint
Dish
Water
Paint brush
Bubble wrap, small piece
String
Tape
Glue
Eye
Marker

Directions

1. Cut the tissue paper into caterpillar parts. You can use circles or another shape for the body and head of a caterpillar. You can have the child do this part if they are gentle and coordinated or you can have an adult do this part.
2. Put a little paint in a dish and add a little water. Mix well.
3. Have the child paint a design on the tissue paper shapes. Eric Carle usually does zig zag lines. My son did blobs.
4. Allow the tissue paper to dry.
5. Add a little more paint and water to a dish and mix well. Use a different color than you did with the first paint.
6. Add dots to the caterpillar parts.
7. Allow to dry.
8. Add a little more paint and water to a dish and mix well. This should be a unique color that has not been used before.
9. Dip the bubble wrap in the paint and stamp the paint on the caterpillar pieces.
10. All the tissue paper to dry.
11. Arrange the caterpillar in the desired order. Flip the pieces over. Measure a string two inches longer than the tissue paper pieces.
12. Tape the tissue paper pieces to the string. Leave 1" on either side of the caterpillar.
13. Flip the caterpillar back over and glue an eye on the head and with a marker draw a mouth.
14. Hang up your creation!

Posted on Kids Get Arty

Thursday, August 4, 2011

Making Butterflies and Dinosaurs out of Foam

When Bushka (the kid’s grandmother) comes to visit there is always crafting and decorating occurring. I am not crafty or artsy. I try to provide my kids with crafting and art supplies to expose them to the arts, but I am not too great at taking on craft projects myself. I am not the mom whom has a perfectly coordinated house with cute pillows and handmade curtains and painted storage boxes that perfectly accent the painted closet door. I am the person with a sparsely decorated house with blinds instead of curtains.  I do not have the decorating gene either. It seems that anything artistic or musical is completely missing from me, so when my mom comes to visit she always brings with her 10,000 ideas for the kids rooms or craft projects to complete with them.
This time Bushka wanted to make butterflies for Miss Bubble’s room and dinosaurs for Little BBQ’s room. Thankfully this was a fairly straight forward process. She took foam sheets and cut out dinosaur shapes and butterfly shapes. She got patterns from coloring books and from the web. Then, she painted the dinosaurs and butterflies with colors that matched the kid’s curtains that she made. For the butterflies she even added some glitter to add some shine. For some parts of the dinosaurs she made three dimension spots, and she added pipe cleaner antennas to the butterflies. Lastly, she glued on some googol eyes. This fun little project that she completed helped to transform one corner of kid’s room. Here are the results:
Little BBQ's curtain:
Little BBQ's dinosaurs:

Miss Bubble's curtain:

Miss Bubble's butterflies

Related Posts Plugin for WordPress, Blogger...